All images and contents of this blog © Ginny Baker. Please don't use without permission.

Saturday, December 19, 2009

IT'S IN THE STARS


Keeping with the theme of using cookie cutters to create unique Christmas ornaments, here's a little Santa Claus ornament I made using a 2" star-shaped cookie cutter. This little guy was inspired by some adorable ornaments I had seen created by Michelle Zink. I've since done all manner of variations on this theme including many with dogs. The star becomes the body of the Santa, the top point of the star becomes his hat, and then it's just a matter of how you choose to embellish it.

Friday, December 18, 2009

Clay Cut-Outs


When Design Originals asked me to do a book on Christmas ornaments, they wanted cute designs that would be quick and easy to make. I had some Kemper cutters on hand, and I started playing around with shapes and came up with some simple, but very cute designs using the teardrop, heart, and round cutters in various sizes.

The teddy bear, angel, and Santa Claus have pants made using a teardrop cutter. I used a small heart-shaped cutter to create the angel's and Santa's shoes. I turned the heart cut-out sideways, stretched the top up slightly and then cut it straight across, then attached to the bottom of the teardrop shapes. I did the same thing to create the teddy bear's stocking, just using a larger heart cutter. Santa's jacket was made using a larger heart cutter turned upside down. I rolled out a very thin piece of red clay with a pasta machine and then cut out rectangles that I gathered for the angel and teddy bear's tops.


The gingerbread men that Santa and the teddy bear are holding were made using a small flower shaped cutter.

It's a lot of fun to experiment with these small cutters and see what you come up with.


Thursday, December 17, 2009

COOKIE CUTTER ORNAMENTS


Since people are always looking for quick and easy ornaments to make, editors are always looking for quick and easy ornament projects. I came up with an idea to use a 2" gingerbread man cookie cutter I had to make a variety of Christmas characters that I could put onto glass ball ornaments. This was a project I did for the January 2001 issue of "Great American Crafts" magazine:


The snowman was made using the 2" cookie cutter, the gingerbread boy and girl were made using a 1" gingerbread man cutter.

The Santa Claus below uses the same 2" gingerbread man cut-out as a base, only this time, I cut the piece out of red clay, and then added the other elements to turn it into a Santa.


I attached the unbaked pieces to the glass balls using super glue and then baked them. They've held up for 9 years with no problems, but if you don't want to put super glue in the oven, you could always attach the unbaked clay pieces to the glass ball, bake them, then gently pop them off, and reattach them with glue. I've never had any problems with baking super glue. It is flammable, but not at the low temps polymer clay bakes at. I was not the first person who tried this! LOL I took my cue from many other clay artists who have baked super glue with polymer clay.

This makes a cute and very simple project that could easily be personalized.

Wednesday, December 16, 2009

HANDMADE CHRISTMAS ORNAMENTS


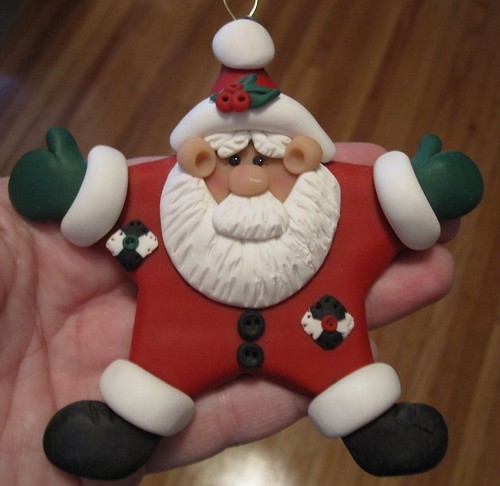
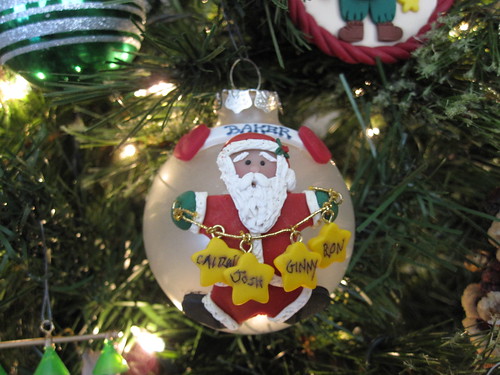
One of the things I love so much about Christmas is putting up our tree every year. Our tree is traditional, full of ornaments I've made, or my kids have made, or that were purchased because they bring back memories of happy times in our lives, or special places we've been, or some were treasured gifts from friends or family.

I first worked with polymer clay over 30 years ago, but it wasn't until I met my friend, Laurie, who I worked with at a veterinary clinic about 20 years ago, that I really got started selling my work.

Laurie and I started doing craft shows, and we came up with a rather "nutty" idea at the time. We created tiny polymer clay scenes inside of walnut halves. I had seen an ornament that was made of resin and was an imitation walnut with a tiny scene, and Laurie and I decided to try to do our own little scenes inside walnuts with clay. We used the halves at first, but then after a while, my husband, Ron, started hollowing out the shells with a Dremel tool, so that we had a little more of the shell to work with! We sold these quite well at craft shows in Albuquerque, NM, where I was living at the time. The one below, was given to me by Laurie, and it's a wonderful memento of both her and my family's time in New Mexico. My husband was born in Espanola, New Mexico and grew up in Santa Fe. Yup, Laurie and I were crazy enough to do little adobe houses like this one, complete with hanging ristras near the door, tiny ladders, and for this one, Laurie even added a howling coyote and a tiny yucca plant!


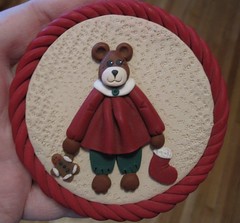
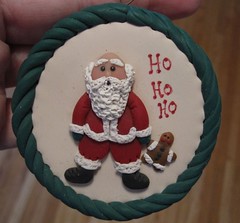
Our line also included tiny walnuts filled with Santas, woodland creatures, and anything else our imaginations could fit into a walnut. Like this little Mrs. Santa I did:


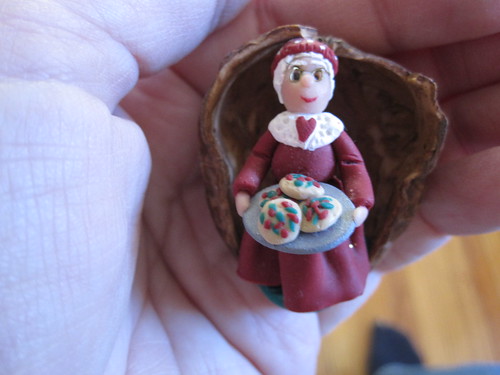
Her shell is broken at the top now, so I can't hang her anymore, but she held up for 18 years on my own Christmas tree. Laurie's little adobe house walnut is hanging on my tree again this year, for the 19th year. :o)

Tomorrow, I'll share more ornaments.

Tuesday, December 15, 2009

CHRISTMAS COUNTDOWN


Only 15 days to go! Every year I say I'm going to stop and enjoy the season, but always in years past I'd be so busy creating last minute items to list on ebay, or finishing up the last of my orders, that Christmas would sneak up on me and be over before I knew it. Well, not this year. I am shipping off the last of my orders today, and I am going to enjoy the next 10 days fully this year.

I've been noticing a profusion of aqua colored Christmas decorations in the area stores. I absolutely LOVE the combination of aqua and red! The tree and other decorations featured below are from the website of a store in Canoga Park, CA called, Traditions:


Gorgeous, isn't it? Tomorrow, I'm going to feature some ornaments I've made for my own tree over the years. :o)